Getting Started
System Requirements
Your System needs to support OpenGL 4.3 and/or Vulkan 1.1
Setup Oreon Engine Java Project
This setup guide demonstrates how to import Oreon Engine into the Eclipse IDE
Fork or Clone the repository
To fork the repository click on the top-right corner of this page (Fork me on GitHub). You will see oreon-engine as a forked repository at your Github account repositories. Now you are ready to clone the repository to your local system and set it up as a project in Eclipse. Alternatively, you can clone and import the project without a fork by just clicking the clone button at.
Import the project into Eclipse
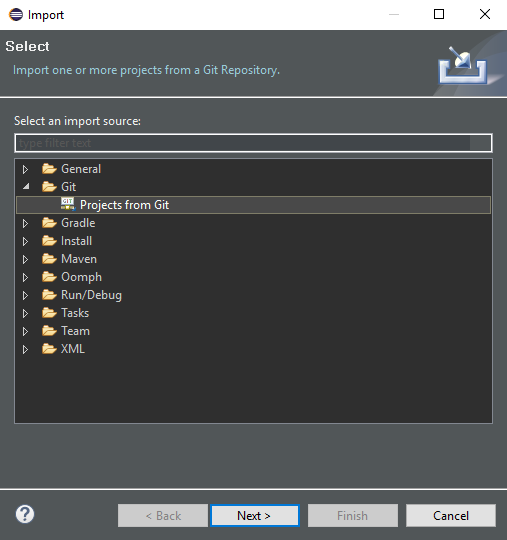
- Open Eclipse IDE, choose File -> Import… -> Projects from Git
- Select Clone URI -> Next >

- Go to your forked Oreon.Engine-OpenGL-Java repository on GitHub
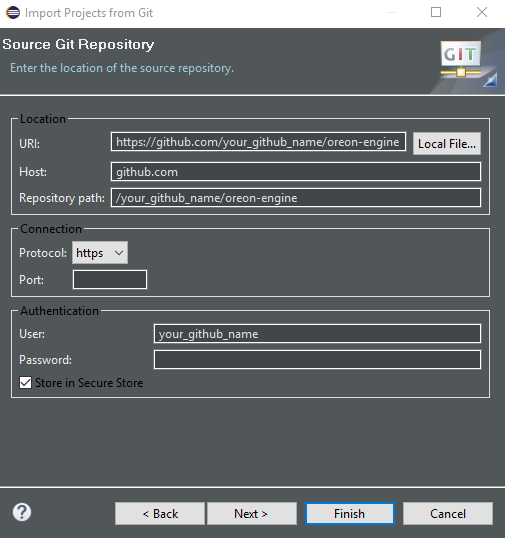
- copy URL -> paste URL into the URI-field
- Eclipse will fill the other fields for you
- type in your GitHub username and password
- click Next >
- Select master-branch -> click Next >
- choose a directory for the local repository -> click Next >
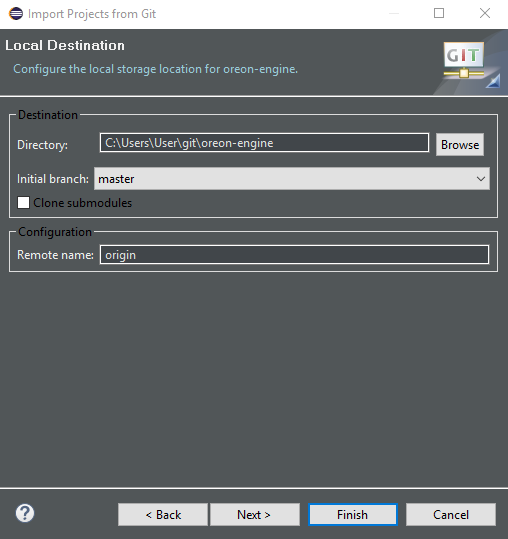
- Eclipse will clone the GitHub repository to the previously created local repository
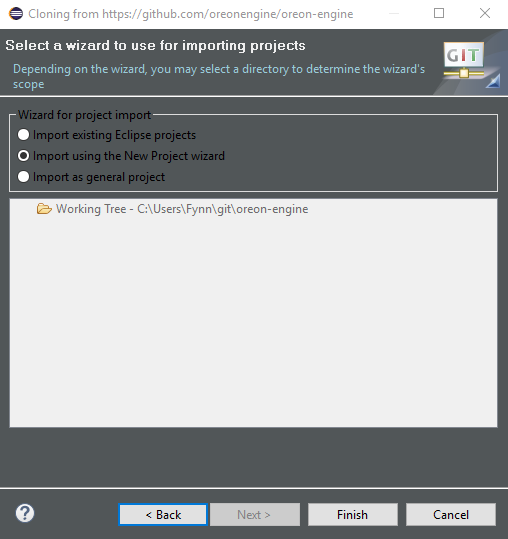
- click Finish
- click Cancel
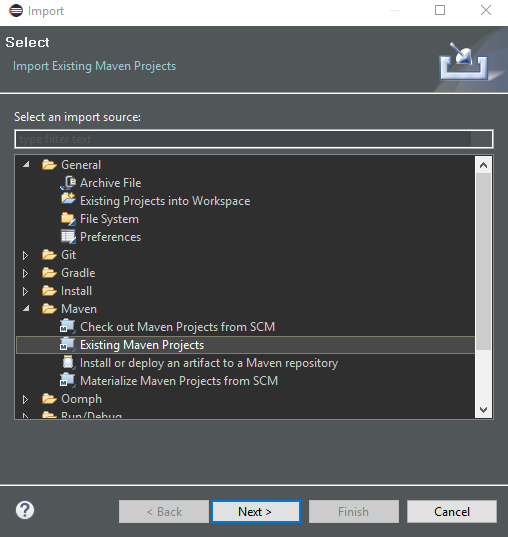
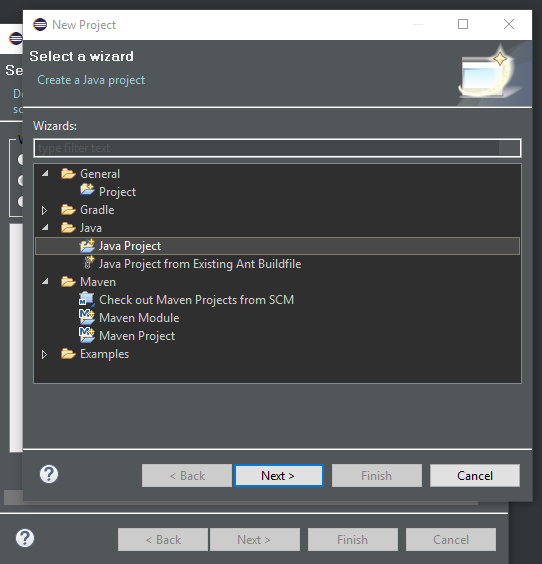
- Now once more choose File -> Import… in the Eclipse IDE and select Existing Maven Projects
- click Finish
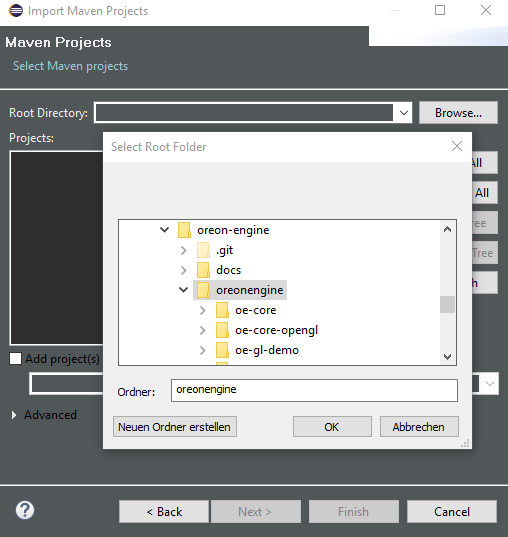
- Select as root directory the subfolder ‘oreonengine’ of the previously checked out github project oreon-engine.
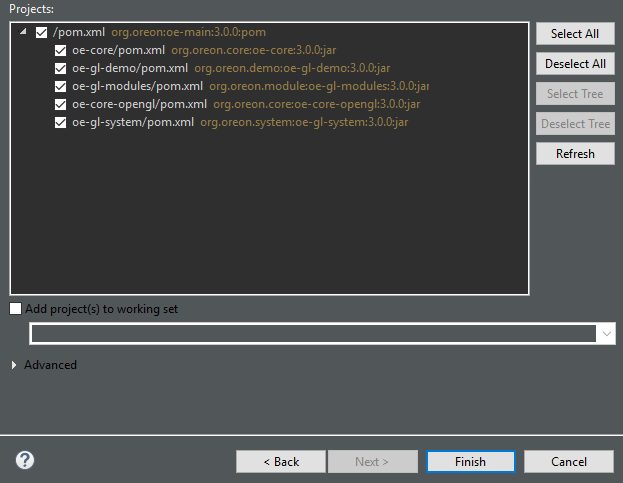
- Select all modules and optionally choose a working set for your project.
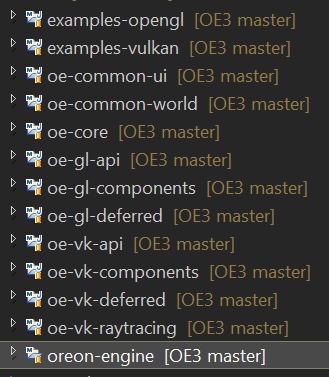
Congratulations, you are done! You will see the project in your Eclipse package Explorer as with all it’s maven modules as shown below. Good luck and have fun with the project!